Detailing Guide
DIY Headlight Kits vs Professional Restoration: What Lasts?
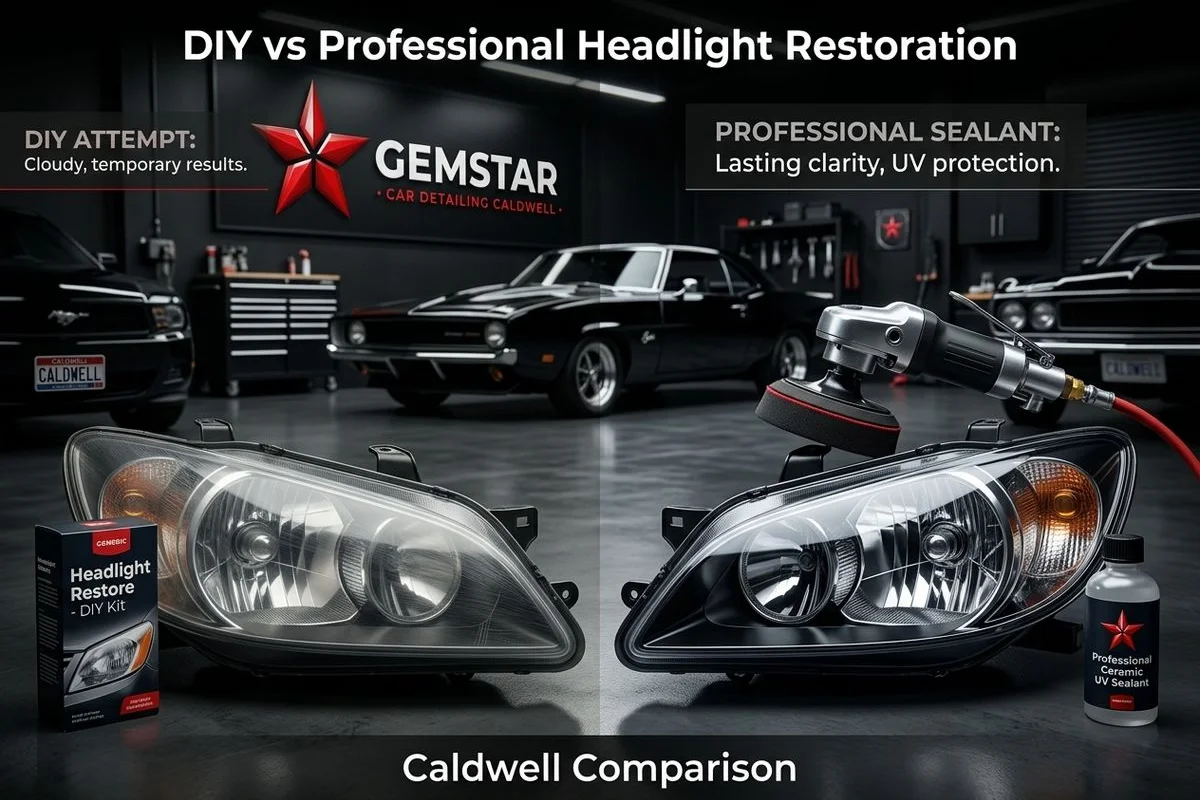
Why most DIY headlight kits re-yellow within 6 months, and what professional restoration includes that the kits skip.
You know how a simple weekend project can quickly turn into a yearly chore. This is the exact problem many homeowners and business owners face with faded vehicle lenses.
The decision between diy vs professional headlight restoration often comes down to balancing immediate costs against long-term frustration.
A 2018 study by AAA found that oxidized polycarbonate lenses reduce a car’s light output by nearly 80 percent.
That massive drop in nighttime visibility creates a serious safety hazard.
We are going to break down the exact reasons why most store-bought fixes fail so quickly. The facts will then show you the professional methods that actually solve this issue for good.
The Anatomy of a DIY Kit
A typical DIY headlight restoration kit is a pre-packaged box designed to strip away oxidized plastic. These kits usually cost between 20 and 30 dollars at a local US auto parts store.
The basic setup includes multiple grits of sandpaper and a polishing compound. You will also find a small applicator pad and a bottle of chemical sealant.
Most popular US consumer options, like the Sylvania Headlight Restoration Kit or the Cerakote Ceramic Kit, provide everything you need for a quick afternoon project. The instructions printed on the box are usually reasonable and easy to follow.
The actual execution is where the process breaks down for most people.
Common components found in these consumer boxes include:
- 3 to 4 progressive grits of sandpaper (often P800 to P2500)
- A mild liquid polishing compound
- A spray or wipe-on chemical sealant
- A small applicator pad or microfiber towel
What DIY Gets Right
For basic surface oxidation removal, the consumer approach is fundamentally correct. You can successfully clear up cloudy lenses by following the basic grinding and polishing steps.
Sanding through progressive grits manually removes the damaged, yellowed polycarbonate. Polishing then smooths out the fine scratches left behind by the sandpaper.
Steps one and two produce clear lenses almost immediately when done with patience. Many DIY users can achieve a decent temporary look with products like the Chemical Guys Headlight Restorer.
The standard successful steps include:
- Sanding away the oxidized plastic layer.
- Polishing out the cloudy sanding marks.
- Applying a temporary surface sealant.
What DIY Gets Wrong
Consumer kits fail because they do not provide a durable, long-term barrier against ultraviolet light. The underlying plastic begins degrading again almost as soon as you finish the job.
Three persistent failure modes plague the typical weekend garage project.
Inadequate UV Protection
The chemical spray in most boxes is just a silicone-based hydrophobic sealant. This liquid beads water nicely but offers minimal shielding from the harsh US sun.
Once the spray washes away in three to six months, the freshly exposed polycarbonate oxidizes rapidly. You are back to square one before the year is over.
Insufficient Grit Progression
Real restoration requires an aggressive and thorough sanding progression. A professional job utilizes P800, P1200, P2000, and P3000 grit paper as a minimum standard.
Consumer boxes often skip directly from P800 to P2500 grit. This massive jump leaves microscopic haze that simple polishing cannot eliminate.
The result is a set of lenses that look slightly better but never quite reach factory clarity.
Poor Application Conditions
Chemical compounds behave wildly differently depending on the surrounding climate. A polish applied in 95-degree July heat cures completely differently than one applied in a 50-degree October garage.
Most driveway restorations happen in highly variable outdoor conditions. This unpredictability leads to inconsistent and often frustrating results.
What Professional Restoration Adds
A professional service guarantees a permanent fix by using controlled environments and commercial-grade chemicals. We replace the weak silicone sprays with industrial coatings that physically bond to the plastic.
The entire process transforms a temporary cosmetic fix into a multi-year investment.
Our team operates out of a dedicated facility to ensure consistent chemical curing. The temperature and humidity are tightly regulated to maximize product performance.
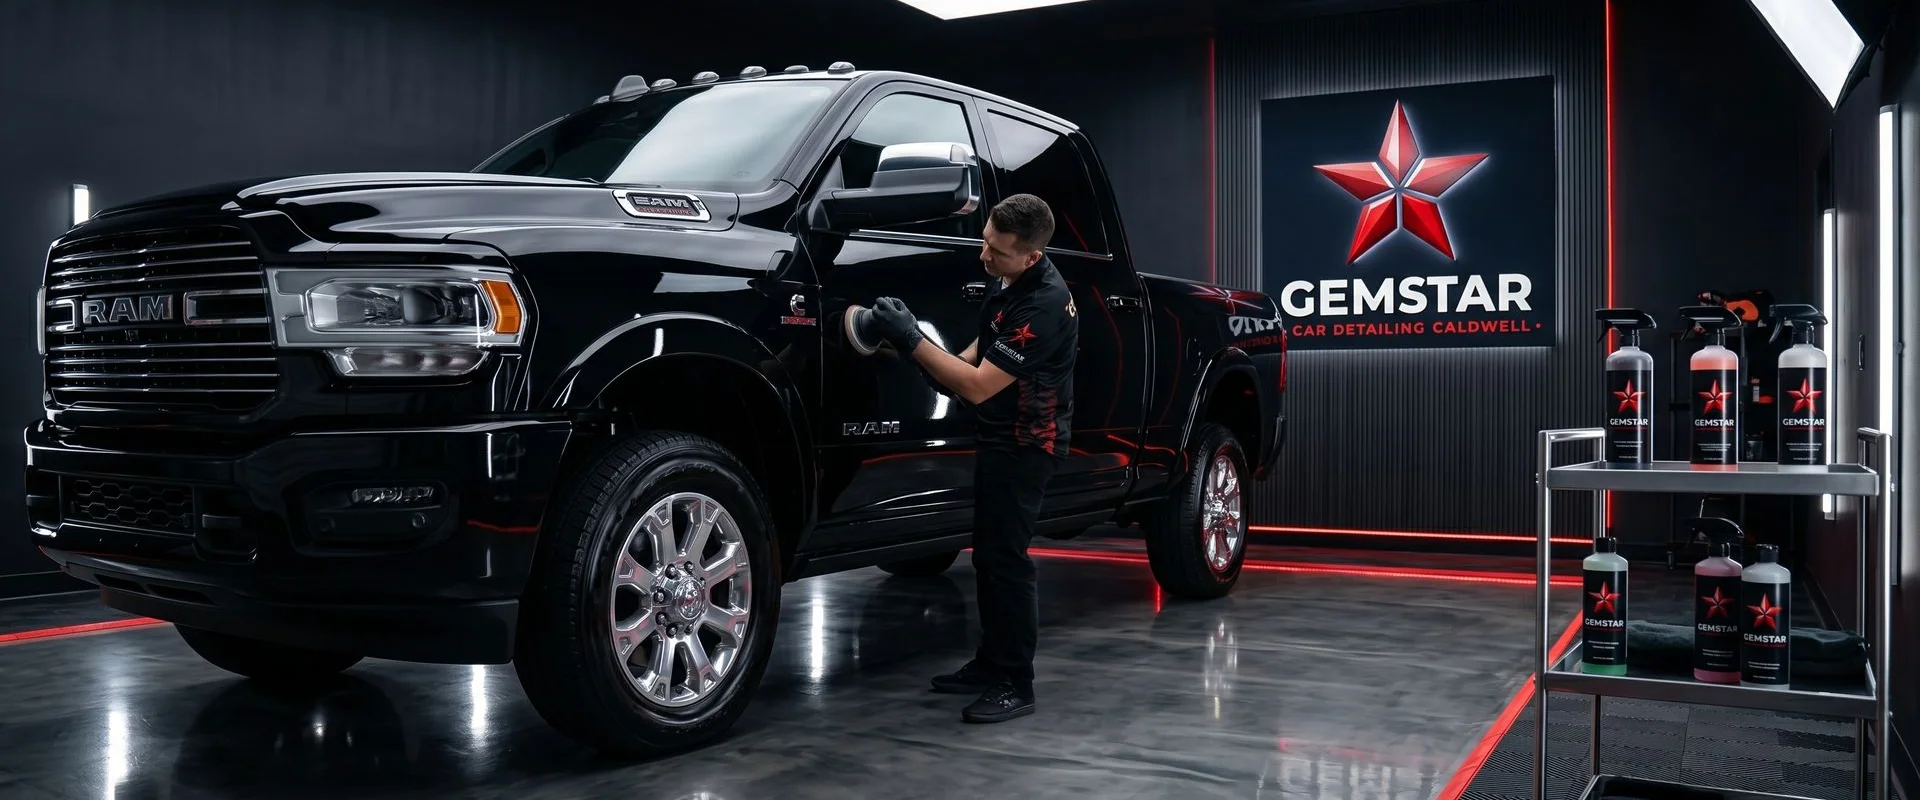
At our Caldwell shop, the complete process includes:
- Climate-controlled bays to ensure perfect polish chemistry.
- Four-stage wet-sanding utilizing P800, P1200, P2000, and P3000 grit paper.
- Machine compound polishing with precisely calibrated speed and pressure.
- Refinement polishing to eliminate any remaining compound haze.
- Commercial 2K UV-protective topcoat that chemically bonds to the lens.
- 30-minute controlled curing under specific lighting.
- Multi-point final inspection to guarantee optical clarity.
The entire appointment usually takes just 60 to 90 minutes from start to finish. Our standard pricing runs 99 dollars for cars, 129 dollars for trucks or SUVs, and drops to 79 dollars when combined with a detail bundle.
This professional application is the only way to achieve factory-level durability.
Real-World Lifespans: DIY vs Professional Headlight Restoration
The lifespan of your headlight repair directly correlates to the quality of the final UV coating. A cheap consumer box will fail significantly faster than a professional application.
To make the comparison clear, let’s look at the average longevity in typical US weather conditions.
| Restoration Method | Average Lifespan |
|---|---|
| Basic Consumer Kit | 3 to 6 months |
| Premium Kit (with basic ceramic) | 12 to 18 months |
| Professional 2K UV Topcoat | 2 to 4 years |
The financial math heavily favors doing the job correctly the first time. In 2026, AutoNation reports that the average cost to replace a complete US OEM headlight assembly ranges from 150 to over 800 dollars.
Luxury LED systems easily exceed 2,000 dollars per side. Let’s break down the basic maintenance math over a four-year period.
- Consumer approach: 30 dollars per kit multiplied by 4 redos equals 120 dollars, plus roughly 8 hours of total labor.
- Professional approach: 99 dollars for a single visit equals 99 dollars, requiring zero hours of your personal labor.
Professional service usually wins on pure financial cost. The method always wins on the amount of personal time you save.
When DIY Makes Sense
There are specific situations where a headlight kit vs professional service actually makes practical sense. A consumer kit is perfect if you need a fast, temporary cosmetic fix.
You might be preparing to trade in a fleet vehicle and simply need the lenses clear for appraisal photos. Products like the Meguiar’s Two-Step kit require no drill and offer a rapid visual improvement.
A weekend driveway project is the right call when:
- You genuinely enjoy the labor. Your personal time investment is not viewed as a negative cost.
- The vehicle is being sold immediately. You only need temporary clarity for a successful sale.
- The lens is internally shattered. A cheap fix defers the immediate shock of a 1,000-dollar OEM replacement.
- Your immediate budget is strict. Some surface improvement is always safer than driving with severely oxidized lenses.
How to Maximize DIY Result Longevity
You can significantly extend the life of a weekend project by upgrading your materials and controlling your environment. The secret is ditching the cheap wipes that come in the box.
Instead of relying on the included sealant, purchase a dedicated professional 2K clear coat aerosol, such as a SprayMax 2K Glamour Clear Coat. This specific product contains an internal hardener that provides genuine chemical resistance against UV rays.
If you handle the project yourself, follow these professional guidelines:
- Utilize a strict four-grit sanding progression of P800, P1200, P2000, and P3000 at a minimum.
- Apply a true two-component 2K UV coating rather than a basic silicone spray.
- Work in a shaded, dust-free environment between 65 and 80 degrees Fahrenheit.
- Park the vehicle indoors or under heavy shade for 48 hours to allow the clear coat to cure.
We highly recommend letting professionals handle the final coating if you feel unsure about spraying aerosol chemicals. The guaranteed longevity makes the math work in your favor.
Our technicians can wrap up your hard work for a simple 79-dollar add-on rate when bundled with any detail service. You will leave the shop with completely clear, fully protected lenses.
Mid-Path: We Apply UV Topcoat Over DIY
You can handle all the manual sanding yourself and let us apply the final commercial-grade sealant. This hybrid option gives you the satisfaction of manual labor with the guarantee of professional durability.
We offer a dedicated UV topcoat application service for just 49 dollars per pair. A technician will first inspect your lenses to ensure the underlying work is uniform.
The inspection process ensures your foundation is completely solid:
- Visual check for uniform sanding marks
- Verification of complete oxidation removal
- Confirmation of a dry, dust-free surface
Our team will apply the commercial topcoat if the surface is properly prepared. You walk away with two to four years of guaranteed UV protection layered directly over your own hard work.
Finding the best headlight restoration solution simply comes down to protecting your vehicle for the long haul.
We are ready to help you lock in that perfect clarity. Reach out to our shop today to schedule your topcoat application.
Related Service
Headlight Restoration
Ready to book this service in Caldwell? Get a same-day written quote.
Learn More About Headlight Restoration